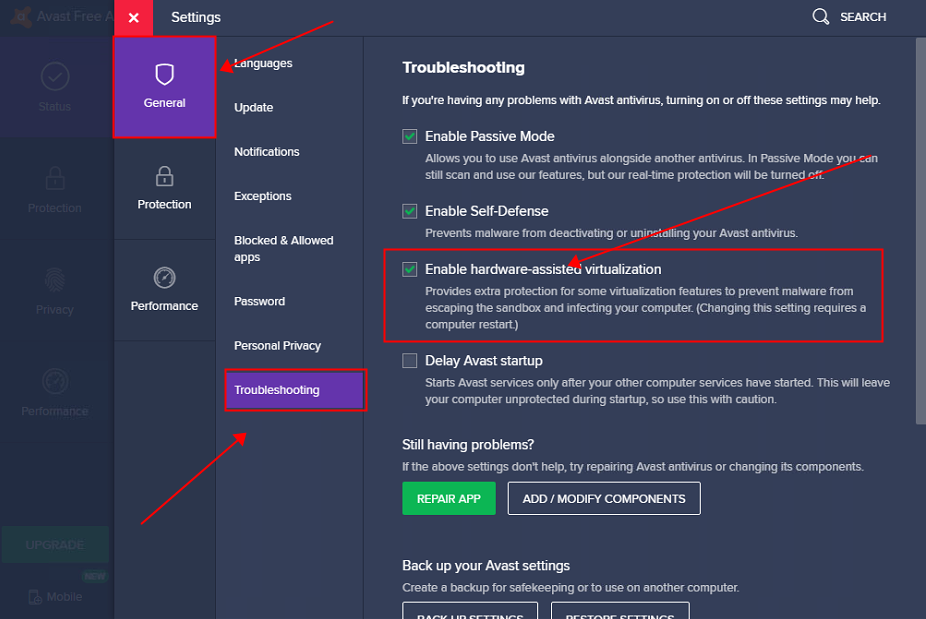
ปิด【enable hardware-assisted virtualization】(การจำลองเสมือนโดยใช้ฮาร์ดแวร์ช่วย) ในตัว Avast
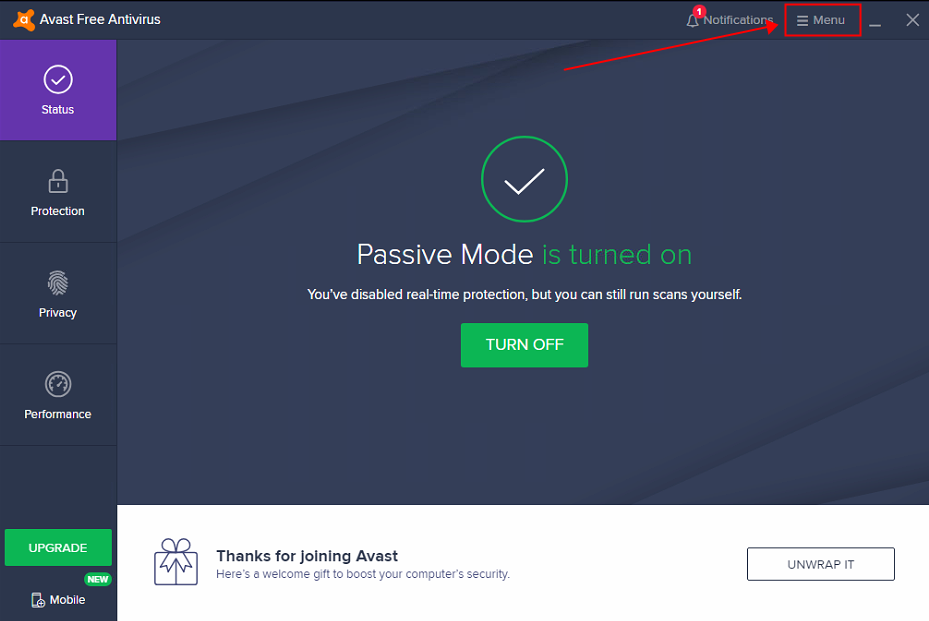
1.เปิด Avast แล้วคลิก“ Menu【เมนู】” ที่มุมขวาบน
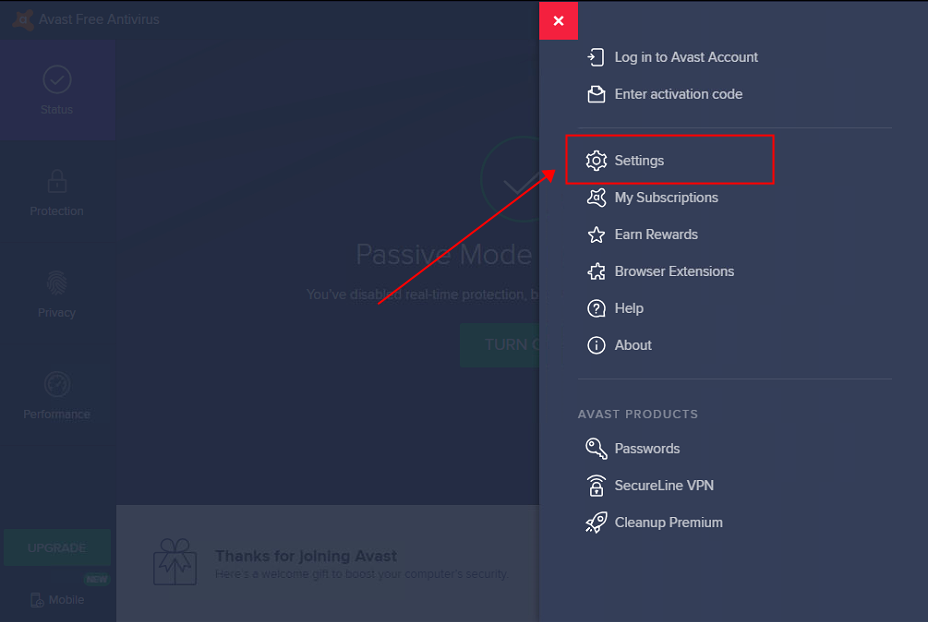
2.คลิก “Settings【การตั้งค่า】” เพื่อดูรายละเอียดเพิ่มเติม
3.เลือก” General【ทั่วไป】” →”Troubleshooting【การแก้ไขปัญหา】” →และกด "Enable Hardware-assisted Virtualization【การจำลองเสมือนแบบใช้ฮาร์ดแวร์ช่วย】”
เพิ่ม NoxPlayer ไปยังรายการที่อนุญาต (ไวท์ลิสต์)
1.เปิด Avast แล้วคลิก“ Menu【เมนู】” ที่มุมขวาบน
2.คลิก “Settings【การตั้งค่า】” เพื่อดูรายละเอียดเพิ่มเติม
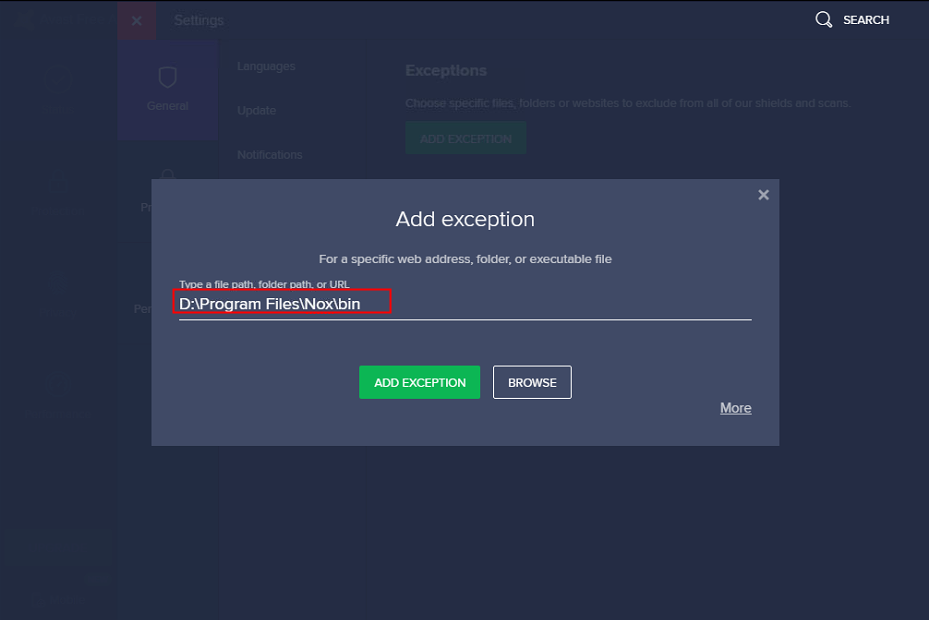
3.เลือก”General【ทั่วไป】” →”Exceptions【ข้อยกเว้น】” →และคลิก”Add Exception【เพิ่มข้อยกเว้น】”
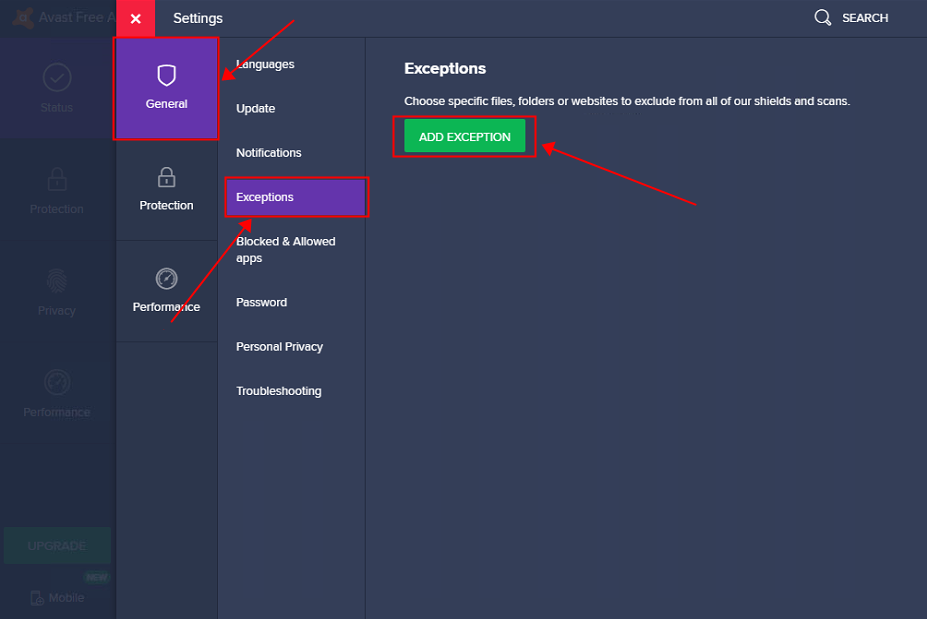
4.เพิ่มเส้นทางการดาวน์โหลดลงในข้อยกเว้น (ตามตำแหน่งที่เก็บไฟล์ของคุณ) ตัวอย่างเช่น D:\Program Files\Nox\binC:\Program Files (x86)\Bignox\BigNoxVM
ติดตามข่าวสารล่าสุด หรือหากคุณมีปัญหาใดๆ สามารถติดตามและส่งคำถามไปที่ แฟนเพจเฟสบุ๊ค NoxPlayer ประเทศไทย
ดาวน์โหลดและติดตั้ง NoxPlayer เวอร์ชั่นล่าสุดได้ที่นี่ >> คลิกที่นี่เพื่อดาวน์โหลด NoxPlayer เวอร์ชั่นล่าสุด <<